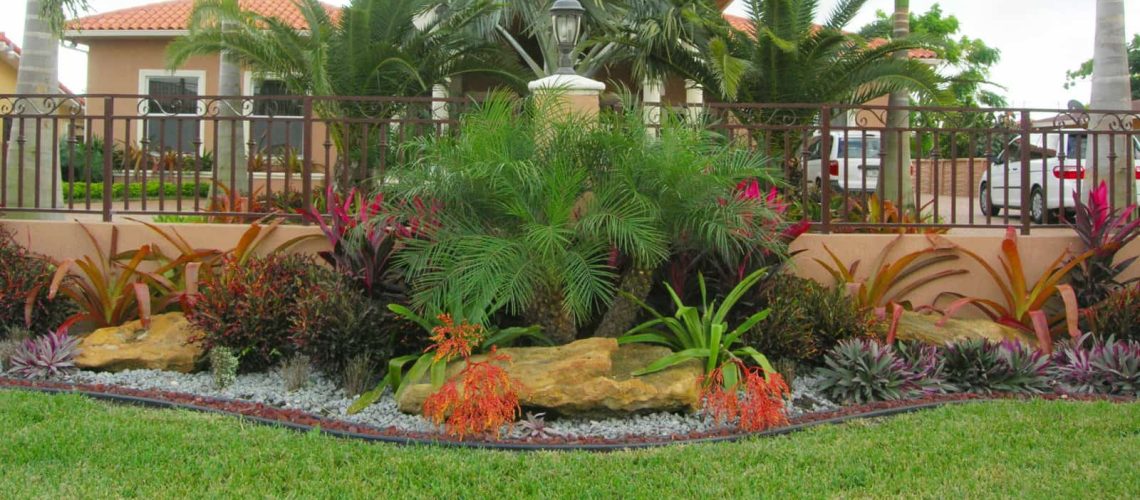
How to Create a Low-Maintenance Rock Garden
Keeping four overlying principles in mind will help you create a beautiful rock garden.
It is much easier to create an asymmetrical rock garden than a symmetrical one, and you are very likely to be happier with the results.
Instead of seeing the garden space as one garden, think about creating miniature islands within a bigger garden. You will find that this allows you more creative freedom.
Consider how the garden will look within your existing landscaping. Once you are ready to begin, follow these simple steps.
Pick the Perfect Spot
A rock garden is a perfect addition to many different spaces. You may want to build one around a tree to add another layer of visual interest to your landscaping.
If you have an area of your yard that refuses to grow grass, it may be the perfect place for a rock garden. You will be amending the soil, so this area may start producing beautiful plants.
Many people choose to place a rock garden at the front of their landscaping. It can be a great way to differentiate your yard from your neighbors.
Remove Current Landscaping
Just like an artist would never start painting on a used canvas, you will want to start with a blank canvas.
Start by laying out the shape of your rock garden. This lets you know exactly where you want to create your canvas. A rope or an old garden hose on the ground can help you visualize where you will create the space.
If the space is small enough, all you may need is a shovel. Otherwise, use a sod-cutter to remove the grass and weeds. Haul this debris away as you do not want any weeds spreading into your new rock garden.
You should create a clean slate that is at least 12 inches deep. If you notice a lot of compacted soil, use a rototiller to break the ground up. Be sure to remove any existing rocks from the earth.
Creating Your Background Rock Garden
Once you have removed the old debris, then you need to create a healthy environment for your new one. Concentrate on letting water drain but not evaporate so that you can make the most of its nutrients.
Install the Foundation Layer
The next step is to install your foundation layer. This layer stops water from evaporating from your garden too fast while still providing good drainage.
While you can use old pieces of concrete or broken bricks for this layer, the best option is to choose river rock.
This layer should be about 6-inches deep.
Add the Sand Layer
Once you have the large rock layer installed and even, it is time to add sand. This helps your garden retain moisture by slowing down the evaporation process.
This layer should be about 1.5-inches deep.
Put Down Your Top Soil
You can buy commercial topsoil, or you can make your own for your rock garden. If you choose to make your own, be sure that you get the soil from a weed-free environment.
Regardless of what you choose, mix in about 40% small-size gravel. Incorporating gravel at this stage helps ensure that your plants do not stand in water.
While there is some leeway, your garden spot should be about the same height as the existing landscaping when you finish this step.
Choosing Rocks for Your Rock Garden
The next step is to choose the right rocks for your rock garden. This is where you start showing your creativity.
Consider Water Movement
Consider how you want runoff to move through your garden. Choosing the right plan can add a creative flair to your garden. You may also want to think about how you can capture the water and use it again.
This may require adding special equipment to your garden, such as a water pump. It may also require you to create sloped areas within your landscaping.
Check local ordinances to see what you are allowed to do.
Place Your Boulders
Choose a unique rock to be the centerpiece of your garden. This rock should be carefully positioned as everything else flows from it. In most cases, you will not want it in the exact center.
Placing it off-center gives your garden a more natural appearance. Since this rock will be heavy, try to visualize the area in your mind and set the rock one time.
Lay Down Smaller Rocks
Once you are happy with the placement of the prominent boulder, then lay down smaller rocks around it. Again, concentrate on creating a natural appearance.
Try choosing rocks that have at least one characteristic, like your prominent boulder. This can be its shape, color, or texture. Following this advice will add to the natural appearance of your garden.
Choose Your Plants
The next step is to choose the plants you want to place in your rock garden.
Pick Plants by Requirements
Think about each plant’s requirements when choosing them. Choose plants that require the amount of sunlight available in your area.
Placing plants in zones based on the amount of water that they require helps you not waste a drop of this precious commodity.
Of course, taller plants need to be placed in the back with shorter ones in front.
Finish by planting your chosen specimens based on their requirements.
You now have a beautiful rock garden. Sit back and enjoy the fruits of your labor.
If you need landscaping and lawn maintenance done, you can contact CWG Landscape!

